

Sheet metal welding is a craft that demands precision and attention to detail. Whether you're repairing a vehicle panel or creating a custom project, mastering sheet metal welding starts with understanding the process. Success depends on careful preparation, consistent practice, and a strong focus on safety. You need to wear the right protective gear, set up your workspace properly, and follow a step-by-step approach. With the right mindset and tools, you can achieve clean, durable welds while minimizing mistakes.
Key Takeaways
Always stay safe by wearing gear like helmets, gloves, and masks. This lowers risks and keeps welding safe for you.
Keep your workspace tidy and clear of dangers. A clean area helps avoid accidents and makes welding easier.
Pick the right welding method for your project. MIG welding is simple for beginners and thick metals. TIG welding works well for thin metals and detailed work.
Check your welds for strength and quality when done. Finding problems early saves time and avoids expensive fixes.
Clean and finish your welds properly to make them last longer. A smooth finish looks nice and works better too.
Safety First in Sheet Metal Welding
Welding is an exciting craft, but safety must always come first. By following proper safety practices, you can protect yourself from injuries and ensure a smooth welding experience.
Essential Safety Gear for Welding
Welding involves intense heat, bright light, and hazardous fumes. Wearing the right safety gear minimizes risks and keeps you safe. Here’s a quick guide to essential protective equipment:
A study in eastern Nepal highlights the importance of personal protective equipment (PPE). It found that welders who understood occupational hazards and used PPE experienced fewer accidents. This shows how awareness and proper gear can make a significant difference.
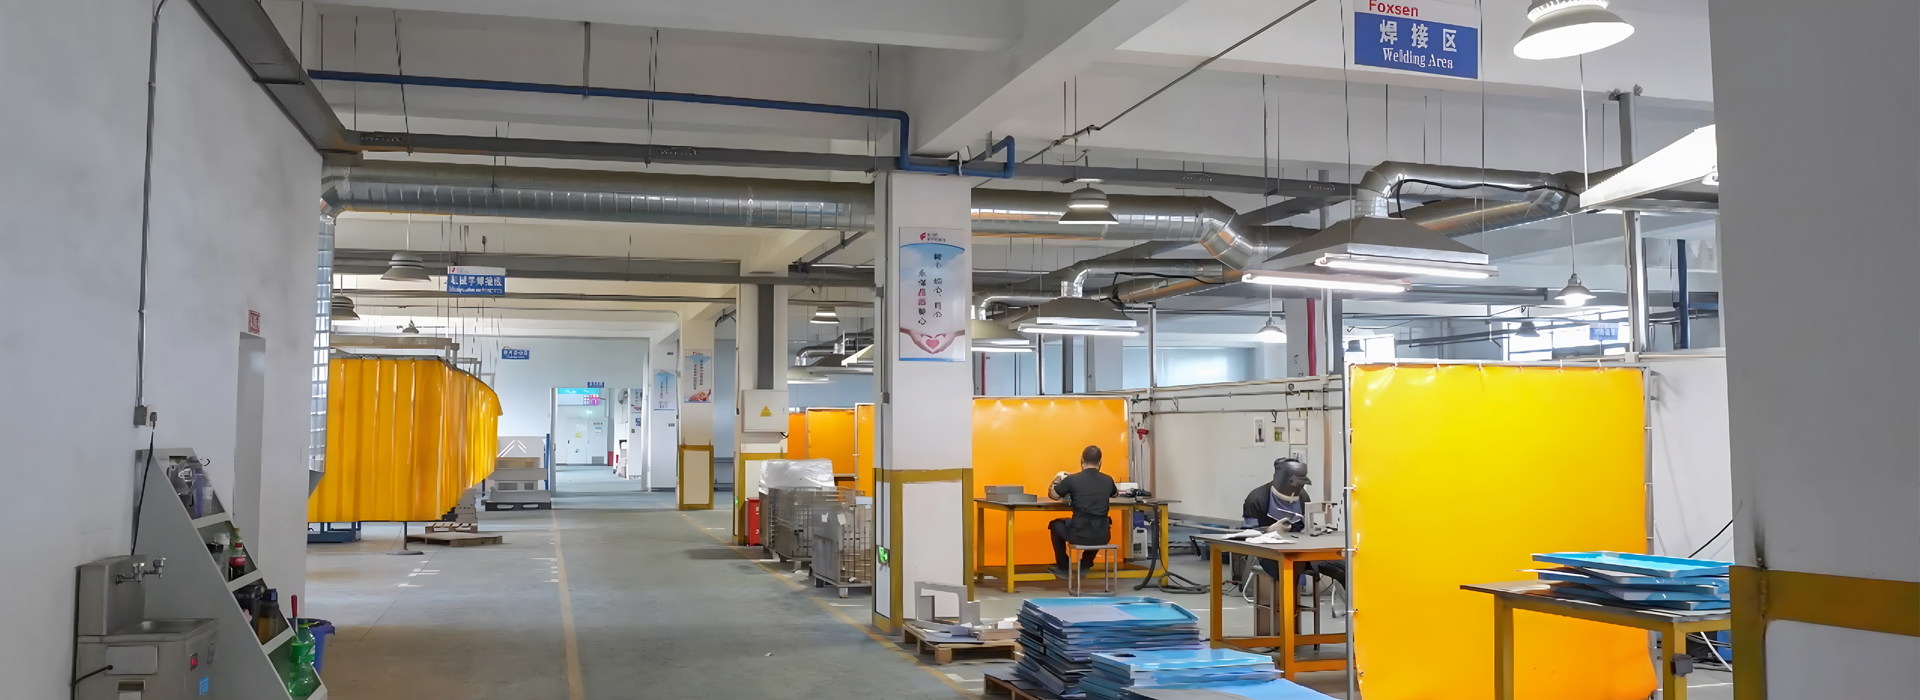
Setting Up a Safe Welding Area
Your workspace plays a critical role in ensuring safety. A well-organized and hazard-free area reduces the chances of accidents. Follow these guidelines to create a safe welding environment:
By adhering to these rules, you can create a safe space for welding sheet metal and other projects.
Avoiding Common Welding Hazards
Welding comes with risks, but understanding common hazards helps you avoid them. Some of the most frequent issues include:
Cracks (longitudinal and transverse)
Porosity (cavity)
Undercut
Lack of Fusion (LOF)
Lack of Penetration (LOP)
Solid Inclusions (SI)
ISO6520 provides detailed descriptions of these flaws, helping you identify and address them. Always inspect your work to ensure quality and safety.
Tip: Never rush through safety checks. Taking a few extra minutes to double-check your gear and workspace can prevent accidents and save time in the long run.
Equipment Checklist for Welding Sheet Metal

Choosing the Right Welding Machine (MIG, TIG, etc.)
Selecting the right welding machine is crucial for achieving clean and durable welds. MIG and TIG welding processes are the most common choices for sheet metal work. Each has unique advantages depending on your project needs.
MIG welding machines are ideal for thicker materials and faster production work. They are easier to learn, making them suitable for beginners. TIG welding machines, on the other hand, excel in precision and aesthetics, especially for thinner materials like patch panels. If your project involves intricate designs or aluminum, the TIG welding process offers superior control and finish.
Protective Gear and Accessories
Safety gear is essential for protecting yourself during welding. Modern protective equipment combines safety, comfort, and functionality.
Customers praise Lincoln Electric Flame Resistant Welding Sleeves for their heat resistance and lightweight design.
Auto-darkening helmets are highly effective in shielding your eyes from harmful light while ensuring visibility.
Flame-resistant jackets and gloves provide reliable protection against sparks and burns.
The welding protection equipment market continues to grow due to increased safety awareness and technological advancements. Lightweight and ergonomic designs make it easier for you to work comfortably during extended sessions.
Tools for Cleaning and Finishing Sheet Metal
Proper cleaning and finishing tools ensure a smooth and professional weld. Before welding, use wire brushes or grinders to remove rust, paint, and debris from the metal surface. After welding, finishing tools like flap discs and sanding pads help smooth out the weld seam.
For aluminum and stainless steel, specialized cleaning solutions prevent contamination and improve weld quality. Clamps and magnets are also essential for holding sheet metal securely in place during welding. Investing in high-quality tools not only enhances your results but also saves time and effort.
Tip: Always inspect your tools before starting a project to ensure they are in good condition.
Preparing for Welding Sheet Metal
Proper preparation is the foundation of successful welding. Before you start welding sheet metal, you need to clean the surface, position and clamp the metal securely, and set up your welding machine accurately. These steps ensure a smooth process and high-quality results.
Cleaning and Prepping the Metal Surface
A clean metal surface is essential for achieving strong and durable welds. Contaminants like rust, paint, grease, or dirt can weaken the weld and cause defects. Follow these steps to prepare the metal surface effectively:
Remove Surface Contaminants: Use a wire brush, grinder, or sandpaper to eliminate rust, paint, and debris. For aluminum and stainless steel, apply specialized cleaning solutions to prevent contamination.
Inspect the Surface: Check for any remaining impurities. Even small particles can affect the weld quality.
Ensure Smoothness: Aim for a smooth surface with an average roughness value (Ra) of 0.8 µm or less. This improves cleanability and weld strength.
Did You Know? Studies show that cleaning methods significantly impact bacterial reduction rates. Nanoporous aluminum surfaces achieve the highest reduction rates, while stainless steel surfaces reduce bacterial counts by up to 30.63%. This highlights the importance of thorough cleaning for optimal results.
Positioning and Clamping the Sheet Metal
Accurate positioning and secure clamping are critical for maintaining alignment and achieving precise welds. Without proper support, the metal may shift during welding, leading to uneven joints or defects. Here's how you can position and clamp sheet metal effectively:
Use Welding Magnets and Clamps: These tools help you hold the metal at precise angles, making it easier to create corners and align edges.
Start with Tack Welds: Tack welds temporarily hold the metal in place, allowing you to adjust the alignment before completing the weld.
Check the Setup: Ensure the metal pieces are flush and aligned correctly. Misalignment can compromise the strength and appearance of the weld.
Pro Tip: Welding magnets and clamps are especially useful for thin sheet metal. They help maintain stability and prevent warping during the welding process.
Setting Up the Welding Machine Correctly
The welding machine setup plays a vital role in determining the quality of your welds. Incorrect settings can lead to issues like excessive spatter, poor penetration, or weak joints. Follow these guidelines to set up your welding machine properly:
Adjust Settings Based on Material: Match the voltage, wire feed speed, and shielding gas type to the thickness and type of sheet metal.
Master Key Parameters: Focus on essential parameters like stickout, electrode-to-work distance (ESO), and polarity settings. These factors control heat input, penetration, and weld appearance.
Test Before Welding: Perform a test weld on a scrap piece of metal to ensure the settings are correct. This helps you avoid mistakes during the actual welding process.
Reminder: Proper machine setup is crucial for controlling heat input and achieving consistent welds. Take your time to fine-tune the settings for the best results.
By following these preparation steps, you can set yourself up for success in welding sheet metal. Clean surfaces, secure positioning, and accurate machine settings ensure a smoother process and stronger welds.
How to Weld Sheet Metal Step by Step
Selecting the Right Welding Technique
Choosing the correct welding technique is essential for achieving strong, durable, and visually appealing welds. Each method offers unique advantages depending on the material, joint type, and project requirements. Here’s a breakdown of popular techniques for welding sheet metal:
MIG Welding: This method works well for thicker materials and is commonly used in manufacturing and automotive industries. It provides efficient production rates and is easier to learn, making it ideal for beginners.
TIG Welding: Known for its precision, the TIG welding process is perfect for thin materials like aluminum and stainless steel. It is widely used in aerospace and medical applications where intricate designs and high-quality finishes are required.
Spot Welding: This technique is suitable for high-volume production and is often used in automotive manufacturing for non-load-bearing connections.
Tack Welding: Essential for temporary fixes, tack welding holds parts in place during the initial assembly phase.
When selecting a welding technique, consider factors such as joint efficiency, energy consumption, and cost-effectiveness. For example:
Joint Efficiency: This measures the strength of the welded joint compared to the parent metal. Some techniques, like TIG welding, achieve high joint efficiency with minimal energy input.
Cost Effectiveness: MIG welding offers a balance between equipment cost and production rates, making it a popular choice for large-scale projects.
Fracture Mode: Different techniques exhibit varying fracture modes, which can influence the durability of the weld.
Tip: For patch panel repairs or projects requiring precision, TIG welding provides superior control and aesthetics. However, for faster production on thicker materials, MIG welding is more efficient.
Tack Welding to Secure the Metal
Tack welding plays a crucial role in the initial stages of welding sheet metal. It temporarily holds the metal components in place, ensuring proper alignment before completing the final welds. This step prevents shifting and reduces the risk of defects.
Follow these steps for effective tack welding:
Position the Metal: Align the sheet metal pieces accurately using clamps or magnets. Ensure the edges are flush and properly aligned.
Apply Tack Welds: Place small welds at intervals along the joint. These should be strong enough to hold the metal but not so large that they interfere with the final weld.
Inspect the Alignment: Check the positioning after applying the tack welds. Adjust if necessary before proceeding to the next step.
Tack welding ensures stability and minimizes warping during the welding process. Research highlights its importance in maintaining alignment, especially for thin sheet metal. Without tack welds, the metal may shift or distort, leading to uneven joints and compromised strength.
Pro Tip: Use tack welds sparingly to avoid excessive heat buildup, which can cause warping in thin materials.
Welding the Joint Properly
Once the metal is secured with tack welds, you can proceed to weld the joint. Proper technique is critical for achieving a strong, clean, and durable weld. Here’s how to weld sheet metal step by step:
Start with the Correct Settings: Adjust your welding machine based on the material type and thickness. For example, use lower heat settings for thin sheet metal to prevent burn-through.
Maintain a Consistent Speed: Move the welding torch at a steady pace to ensure even heat distribution. Inconsistent speed can result in weak spots or excessive spatter.
Control the Heat Input: Avoid overheating the metal by using short welds or intermittent welding techniques. This reduces the risk of warping and burn-through.
Overlap Welds Slightly: Overlapping each weld pass ensures complete coverage and eliminates gaps in the joint.
Inspect the Weld: After completing the weld, check for defects such as cracks, porosity, or lack of fusion. Use non-destructive testing methods to evaluate the weld quality without damaging the material.
Reminder: Always wear appropriate safety gear and work in a well-ventilated area to protect yourself from harmful fumes and sparks.
Industry benchmarks demonstrate the importance of proper welding techniques. For instance, Danville Metal Stamping achieved precise welds and reduced costs by focusing on technique and precision. Similarly, Lincoln Industrial resolved a 50% failure rate in weld quality by improving their welding processes.
By mastering these steps, you can create strong, reliable joints that meet industry standards. Whether you’re working on a patch panel or a custom project, proper technique ensures professional results.
Techniques for Welding Aluminum and Stainless Steel
Welding aluminum and stainless steel requires specific techniques to achieve strong and clean welds. These materials behave differently under heat, so understanding their unique properties is essential for success.
Welding Aluminum
Aluminum is lightweight and corrosion-resistant, making it a popular choice for various applications. However, it presents unique challenges during welding. Aluminum has a lower melting point than other metals, which increases the risk of burn-through. It also forms an oxide layer on its surface that melts at a much higher temperature than the base metal. This oxide layer must be removed before welding to prevent defects.
To weld aluminum effectively:
Clean Thoroughly: Use a stainless steel wire brush or a chemical cleaner to remove the oxide layer and any contaminants.
Choose the Right Filler Material: Match the filler rod or wire to the aluminum alloy you are welding. This ensures compatibility and strength.
Use AC Current for TIG Welding: Alternating current (AC) helps break up the oxide layer during welding, resulting in a cleaner weld.
Control Heat Input: Use a lower amperage setting and move the torch steadily to avoid overheating the material.
Proper storage of aluminum is also critical. Moisture can accumulate on its surface, leading to porosity in the weld. Always store aluminum in a dry environment to maintain its quality.
Welding Stainless Steel
Stainless steel is known for its strength and resistance to corrosion. It is commonly used in industries like construction, automotive, and food processing. Unlike aluminum, stainless steel does not form an oxide layer that requires removal. However, it has a higher melting point and retains heat longer, which can lead to warping if not handled carefully.
To weld stainless steel successfully:
Select the Right Shielding Gas: Use a mixture of argon and helium for TIG welding or argon with a small percentage of carbon dioxide for MIG welding. This prevents oxidation and ensures a smooth weld.
Minimize Heat Input: Use short welds and allow the material to cool between passes. This reduces the risk of warping and discoloration.
Match the Filler Material: Choose a filler rod or wire that matches the grade of stainless steel you are welding. This ensures the weld maintains its corrosion resistance.
Maintain Cleanliness: Keep the work area and tools clean to avoid contamination, which can weaken the weld.
Key Differences Between Aluminum and Stainless Steel Welding
Welding aluminum demands more meticulous preparation compared to stainless steel. For example, you must clean aluminum thoroughly to avoid porosity, while stainless steel requires careful heat management to prevent warping. These differences highlight the importance of adapting your technique based on the material.
Tip: Practice on scrap pieces of aluminum or stainless steel before starting your project. This helps you fine-tune your technique and settings for the best results.
By mastering these techniques, you can confidently tackle projects involving aluminum and stainless steel. Whether you're learning how to weld sheet metal for the first time or refining your skills, understanding these materials will help you achieve professional-quality welds.
Post-Welding Steps for a Quality Finish

Inspecting the Weld for Strength and Quality
Inspecting your welds ensures they meet strength and quality standards. Skipping this step can lead to weak joints or costly repairs. Use these methods to evaluate your work:
Visual Inspections: Examine the weld for cracks, porosity, or uneven seams. Perform this inspection before, during, and after welding to catch defects early.
Nondestructive Testing (NDT): Techniques like Ultrasonic Testing (UT) and Magnetic Particle Testing (MT) assess weld quality without damaging the material. These methods are ideal for identifying hidden flaws.
Destructive Testing (DT): For critical projects, methods like Tensile Testing and Bend Testing measure the weld's strength under stress.
Early detection of issues saves time and money. Advanced tools, such as AI-powered inspection systems, can identify cracks and bad fusion before they escalate. Adhering to standards like AWS D1.1 ensures compliance and avoids rework.
Tip: Always inspect your welds under proper lighting to spot even the smallest imperfections.
Smoothing and Finishing the Weld Seam
A smooth weld seam not only looks professional but also enhances the joint's durability. Rough edges can weaken the weld and create stress points. Follow these steps to achieve a polished finish:
Grind the Weld Seam: Use an angle grinder with a flap disc to remove excess material and smooth the surface.
Sand the Area: Apply sanding pads to refine the finish and eliminate any remaining roughness.
Polish for Aesthetics: For materials like stainless steel, use a polishing wheel to achieve a clean, shiny appearance.
Smoothing the weld also improves functionality. For example, in food-grade stainless steel applications, a polished seam prevents bacteria buildup.
Pro Tip: Work slowly when grinding or sanding to avoid overheating the metal, which can compromise its integrity.
Cleaning Up After Welding
Post-welding cleanup is essential for safety and maintaining a professional workspace. Residues like slag, spatter, and fumes can affect the weld's quality and your health. Here's how to clean effectively:
Remove Slag and Spatter: Use a chipping hammer or wire brush to clear slag from the weld. For spatter, a scraper or grinder works best.
Wipe Down the Surface: Clean the metal with a solvent or degreaser to remove contaminants. This step is especially important for aluminum and stainless steel.
Organize Your Tools: Store your equipment properly to prevent damage and ensure it's ready for the next project.
Robotic welding systems significantly reduce cleanup time by minimizing spatter and producing clean seams. This efficiency allows you to focus on other tasks without downtime.
Reminder: Always wear gloves and a respirator during cleanup to protect yourself from harmful residues.
By inspecting, finishing, and cleaning your welds, you ensure a high-quality result that meets both functional and aesthetic standards. These steps also prepare you for future projects with a well-maintained workspace.
Tips and Solutions for Common Challenges in Welding Sheet Metal
Preventing Warping in Thin Metal Sheets
Warping is a common issue when welding thin metal sheets. It occurs due to uneven heat distribution, which causes the metal to expand and contract irregularly. You can reduce warping by managing heat carefully and using precise techniques.
Tack Welding: Apply small tack welds at intervals to hold the metal securely. This minimizes movement and reduces distortion.
Short Weld Bursts: Use short bursts of weld instead of continuous passes. This prevents excessive heat buildup in one area.
Heat Management: Alternate between welding and cooling to distribute heat evenly across the sheet.
Research shows that joint gap widths significantly affect distortion. A gap of 0.2–0.4 mm yields better tensile properties, achieving nearly 95% of the base material's strength. By controlling the gap and heat input, you can achieve stronger and more stable welds.
Tip: Position clamps strategically to hold the metal flat during welding. This helps maintain alignment and reduces the risk of warping.
Avoiding Burn-Through During Welding
Burn-through happens when the welding heat melts through the sheet metal, creating holes or weak spots. Thin materials are especially prone to this issue. To avoid burn-through, focus on controlling heat and maintaining precision.
Reduce Current Levels: Lower the amperage setting on your welding machine to prevent overheating.
Weld Rapidly: Move the torch quickly to avoid prolonged exposure to heat in one area.
Clean the Surface: Ensure the metal is free of contaminants like rust or grease. A clean surface improves heat transfer and reduces defects.
Maintain Arc Length: Keep a moderate arc length to control the heat input effectively.
Use Low-Intensity Techniques: Opt for MIG or TIG welding for thin sheet metal. These methods provide better control and reduce the risk of burn-through.
Experimental data highlights the importance of pre-welding equipment configuration and proper inclination during welding. These factors ensure consistent heat application and prevent unnecessary damage to the base metal.
Reminder: Practice on scrap metal to refine your technique before working on the actual project.
Achieving Consistent Welds Every Time
Consistency is key to producing high-quality welds. Variations in technique or equipment settings can lead to defects and uneven seams. You can achieve uniform welds by monitoring your process and optimizing critical parameters.
By using tools like real-time monitoring and statistical process control, you can identify issues early and maintain consistent weld quality. Design of Experiments (DOE) further helps optimize your welding technique for repeatable results.
Pro Tip: Record your welding parameters for each project. This creates a reference for future work and ensures consistency across similar tasks.
Mastering sheet metal welding involves following a structured process and paying attention to detail. Start by prioritizing safety and preparing your workspace and materials. Use the right tools and techniques to achieve clean, durable welds. Inspect and finish your work to ensure quality and professionalism.
Safety and preparation are your foundation for success. Always wear protective gear and double-check your setup. With consistent practice, you’ll refine your skills and gain confidence in tackling more complex projects. Remember, every weld is an opportunity to improve.
Tip: Keep experimenting with different techniques to discover what works best for your projects.
FAQ
What is the best method for welding auto body sheet metal?
MIG welding is the most effective method for welding auto body sheet metal. It provides precision and control, especially for thin materials. This technique ensures strong, clean welds, making it ideal for repairing or fabricating auto body panels.
How do you prepare for welding auto body panels?
Start by cleaning the surface to remove rust or paint. Cut away damaged metal to create a clean edge. Secure the panels with clamps or magnets. Adjust the welding machine settings based on the material thickness for optimal results.
What are the common metal sheet welding methods?
The most common metal sheet welding methods include MIG welding, TIG welding, and spot welding. Each method suits different applications. MIG welding is versatile, TIG welding offers precision, and spot welding is ideal for high-volume production.
How can you avoid burn-through during the welding process step-by-step?
Lower the heat settings on your welding machine. Use short weld bursts and maintain a steady hand. Practice on scrap metal to refine your technique. These steps help you avoid burn-through, especially when working with thin sheet metal.
What is the difference between MIG welding and the laser welding process?
MIG welding uses a wire electrode and shielding gas to create a weld. It is cost-effective and beginner-friendly. The laser welding process uses concentrated light energy for precise, high-quality welds. Laser welding is more expensive but ideal for intricate designs.