
Silkscreen printing is an amazing way to bring your designs to life on sheet metal silkscreen. It’s precise, long-lasting, and works great for both artistic and industrial projects. Whether you’re creating custom signs, metal panels, or decorative pieces, this process helps you achieve clean and professional results. Plus, it’s surprisingly straightforward once you know the basics. Ready to dive in? Let’s explore how this technique can transform your sheet metal silkscreen projects into something truly special.
Key Takeaways
Silkscreen printing is a useful way to make strong designs on metal. It works well for art and industrial projects.
Preparing the metal surface is very important. Clean it carefully so the ink sticks properly. Check for any flaws before printing.
Use good-quality inks made for metal. These inks give bright colors and last a long time. UV inks dry fast and work great.
Drying the ink the right way is key. Follow the maker's directions to make sure the design stays on the metal.
Paying close attention while setting up and printing helps avoid mistakes like crooked or uneven prints. This leads to better results.
Understanding Sheet Metal Silkscreen Printing
What Is Silkscreen Printing
Silkscreen printing, also known as screen printing, is a technique that transfers ink onto a surface using a mesh stencil. It’s been around for centuries, evolving from block printing in ancient China to the advanced methods we use today. Did you know it gained popularity in Western Europe during the late 18th century when silk mesh became widely available? By the early 1900s, photo-reactive chemicals revolutionized the process, making it a go-to method for commercial printing.
The process itself is pretty straightforward. You’ll use a stencil to control the ink flow and thickness, ensuring your design looks sharp and professional. Light-sensitive materials, like diazo photosensitive agents, help achieve high-resolution prints. The stencil frame plays a crucial role too—it keeps the mesh taut for precise application. Whether you’re printing manually or using advanced techniques like liquid photo imaging, the goal is the same: create clean, durable designs that stand the test of time.
Why Use Silkscreen Printing on Sheet Metal
So, why should you choose silkscreen printing for your sheet metal projects? First off, it’s incredibly versatile. Whether you’re working on industrial panels or decorative art pieces, this method delivers consistent, high-quality results. Plus, it’s durable. Designs printed on sheet metal can withstand harsh conditions, making them ideal for outdoor signage or machinery labels.
Another big advantage is customization. Silkscreen printing lets you create intricate designs with vibrant colors that pop against the metal surface. And if you’re tackling large-scale projects, it’s cost-effective too. Once the screen is set up, you can produce multiple prints quickly without compromising quality.
This technique also offers precision. Factors like ink configuration, stencil quality, and preheating ensure your designs adhere perfectly to the metal. Whether you’re a hobbyist or a professional, silkscreen printing on sheet metal gives you the tools to bring your vision to life.
Step-by-Step Process for Silkscreen Printing on Sheet Metal
Preparing the Metal Surface
Before you start the printmaking process, you need to prepare the sheet metal surface. This step is crucial for ensuring the ink adheres properly and your design lasts. Start by cleaning the metal thoroughly to remove any dirt, grease, or oils. Contaminants can cause adhesion failure, so don’t skip this step. Use solvents or alkaline cleaners that meet industry standards like ASTM D2651. These cleaners create a chemically clean surface, which improves bond strength by up to 80%.
If you’re unsure about the best cleaning method, consult a manufacturing expert. They can guide you on optimizing the process for your specific project. Once the surface is clean, inspect it for scratches or imperfections. Smooth out any rough areas with sandpaper or a polishing tool. A well-prepared surface sets the foundation for a flawless print.
Tip: Always wear gloves when handling cleaned sheet metal to avoid transferring oils from your hands.
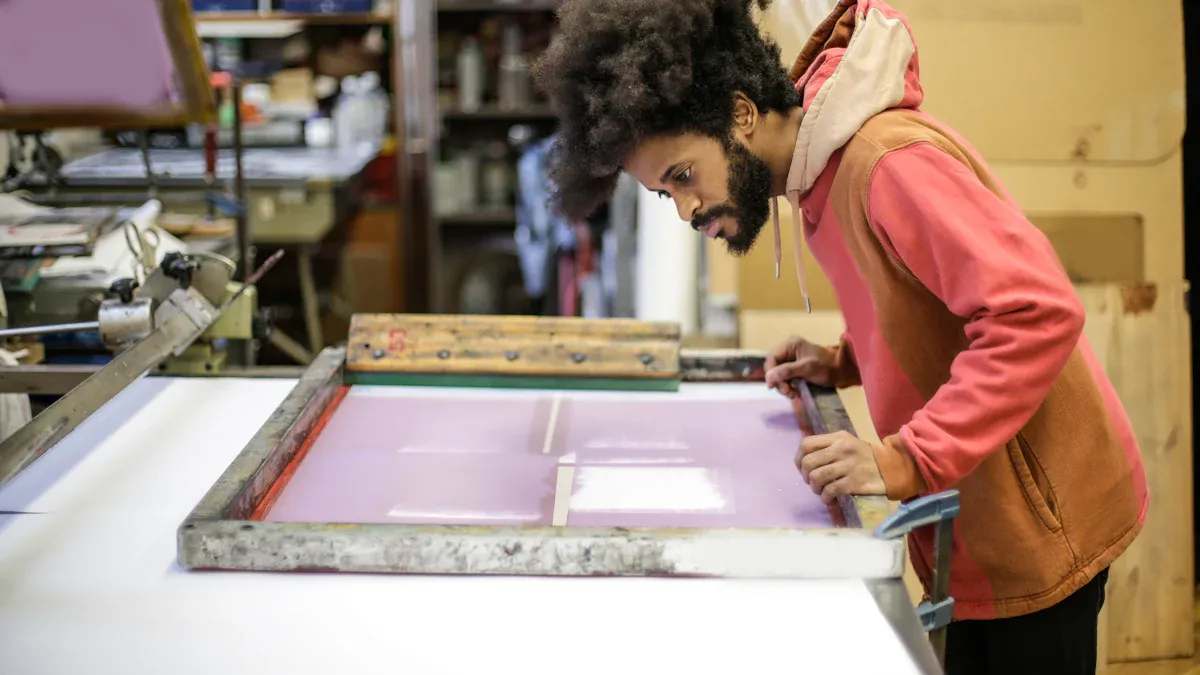
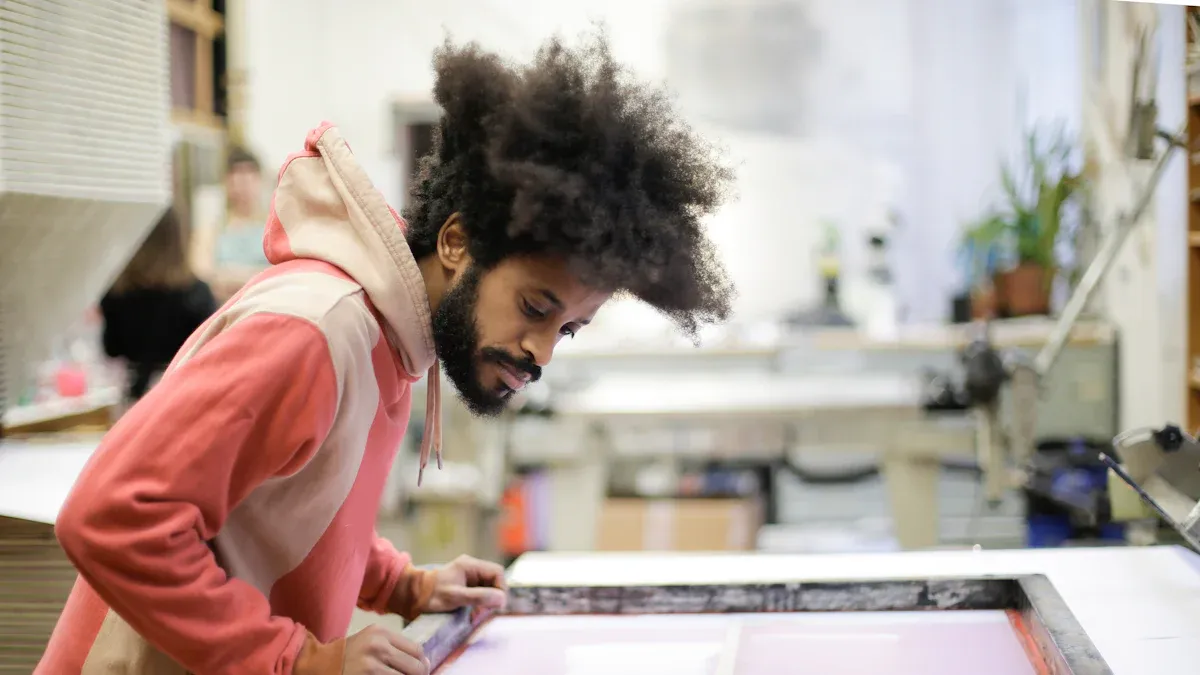
Setting Up the Silkscreen
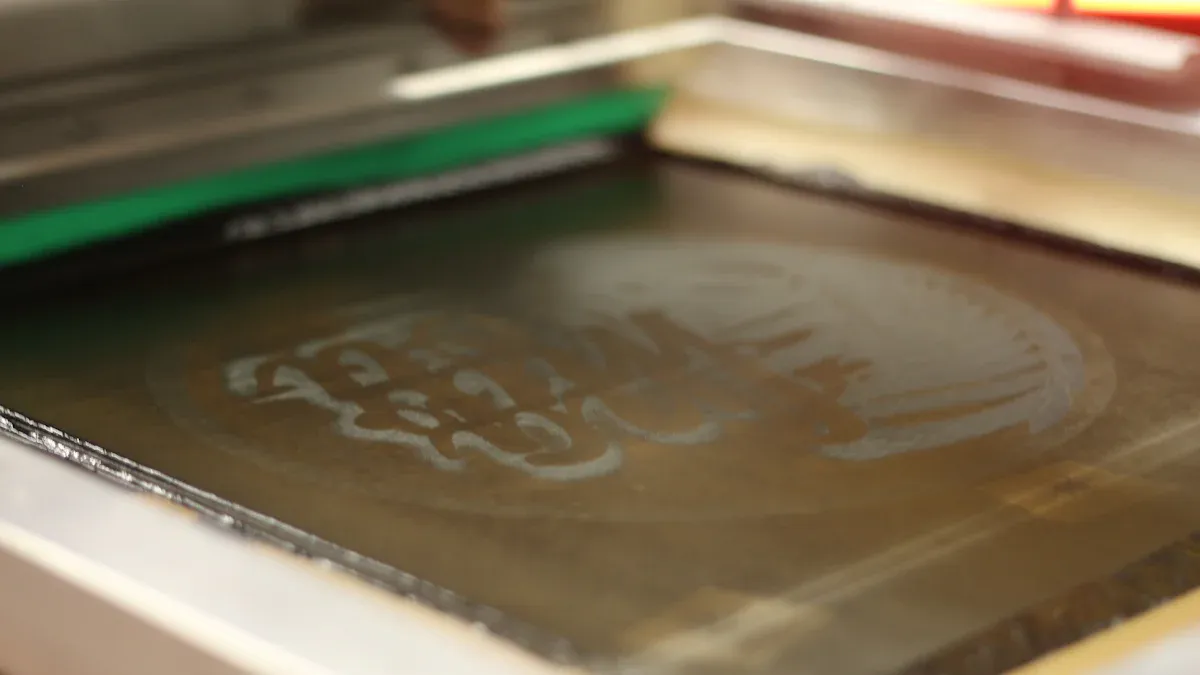
Now it’s time to set up the silk-screen. This step involves creating the stencil that will transfer your design onto the metal. First, burn the negative by transferring your design onto a larger acetate screen. Then, coat a mesh screen with emulsion and lay the acetate screen on top. Expose the setup to light to harden the emulsion and create your stencil.
Once the stencil is ready, attach the mesh screen to a sturdy frame. The frame keeps the mesh taut, ensuring precise ink application during the printmaking process. Place the screen on your printing press and secure it tightly. Double-check the alignment to make sure your design will print exactly where you want it.
Callout: Proper alignment is key to avoiding errors like blurred or uneven prints. Take your time during this step!
Applying Ink and Printing
Here’s where the magic happens. With your screen in place, it’s time to apply the ink and start printing. Choose an ink that’s specifically designed for sheet metal silkscreen projects. Metallic inks or UV-curable inks work well for durability and vibrant colors. Pour a small amount of ink onto the screen and use a squeegee to spread it evenly across the stencil.
Apply firm, even pressure as you drag the squeegee across the screen. This pushes the ink through the mesh and onto the metal surface. Repeat the process if you’re working on a multi-color design, allowing each layer to dry before adding the next. Once you’ve finished printing, carefully lift the screen to reveal your design.
Note: Practice makes perfect! If you’re new to printmaking, start with a simple design to get the hang of the process.
Curing and Finishing the Design
Once your design is printed, the curing and finishing steps lock everything in place and give your project that polished, professional look. These steps are just as important as the printmaking process itself. Without proper curing, your design might smudge or peel over time. Let’s break it down so you can finish your sheet metal silkscreen project like a pro.
Curing the Ink
Curing is all about setting the ink so it bonds securely to the metal surface. Depending on the type of ink you used, curing methods can vary. For UV-curable inks, you’ll need a UV light source to harden the ink. Place the printed sheet metal under the UV light and follow the manufacturer’s recommended exposure time. If you’re using heat-curable inks, a curing oven works best. Set the oven to the temperature specified by the ink manufacturer and bake the metal for the recommended duration.
Tip: Always check the ink’s curing instructions. Using the wrong method can ruin your design or weaken its durability.
For smaller projects, you can use a heat gun to cure the ink. Hold the gun a few inches away from the surface and move it evenly across the design. This method works well for touch-ups or when you don’t have access to larger equipment.
Inspecting the Design
After curing, inspect your design closely. Look for any areas where the ink might have bubbled or failed to adhere properly. If you spot imperfections, you can fix them by reapplying ink and curing again. This step ensures your design looks flawless and lasts for years.
Adding Protective Coatings
To enhance durability, consider adding a protective coating to your sheet metal silkscreen project. Clear lacquer or epoxy coatings work well for this purpose. Apply the coating evenly across the surface using a spray gun or brush. Let it dry completely before handling the metal.
Callout: Protective coatings are especially important for outdoor projects or items exposed to harsh conditions.
Final Touches
Once the coating dries, give your project a final polish. Use a soft cloth to buff the surface and remove any residue. If your design includes multiple colors or layers, double-check that everything aligns perfectly. These finishing touches make your printmaking project stand out and ensure it’s ready for display or use.
Note: Take your time during these steps. Rushing can lead to mistakes that are hard to fix later.
By following these curing and finishing steps, you’ll ensure your silk-screen printing project looks amazing and lasts for years. Whether it’s a decorative piece or an industrial panel, these final touches make all the difference.
Materials and Tools for Sheet Metal Silkscreen Printing
When it comes to silk-screen printing on sheet metal, having the right materials and tools can make or break your project. Let’s dive into the essentials you’ll need to ensure a smooth printmaking process and professional results.
Essential Tools and Equipment
To get started, you’ll need a few key tools. First, a high-quality screen printing press is essential. This device holds your screen in place and ensures even pressure during the printmaking process. For smaller projects, a manual press works just fine, but for larger or more complex designs, consider investing in an automatic press for consistent results.
Next, you’ll need a squeegee. This tool spreads the ink across the screen and transfers your design onto the metal. Look for one with a durable rubber blade and a comfortable handle. A poorly made squeegee can lead to uneven prints, so don’t skimp on quality here.
Other must-haves include a curing device (like a UV light or heat gun), cleaning supplies, and protective gloves. Cleaning supplies are especially important because any residue on the metal surface can ruin your design. Gloves help keep oils from your hands off the cleaned metal.
Pro Tip: Keep a dedicated workspace for your tools. This minimizes contamination and makes the process more efficient.
Market research shows that screen printing is the leading method in printed electronics manufacturing. Its ability to work with high-viscosity inks and deposit thick traces in a single pass highlights the importance of using the right tools. These advancements also allow for finer details, making your designs sharper and more professional.
Choosing the Right Ink for Metal
Not all inks are created equal, especially when it comes to printing on metal. The ink you choose must adhere well to the surface and withstand environmental factors like heat, moisture, and abrasion.
Here’s a quick breakdown of some common ink types and their properties:
For most sheet metal silkscreen projects, solid metal-based inks or UV-curable inks are ideal. They offer excellent adhesion and vibrant colors. UV-curable inks also dry quickly under UV light, speeding up the process.
Note: Always check the manufacturer’s recommendations for curing and compatibility with your chosen ink.
Selecting the Appropriate Screen and Frame
The screen and frame you use play a huge role in the quality of your prints. The screen’s mesh size determines how much ink passes through and how detailed your design will be. For sheet metal, a medium mesh size (like T48) works best. It provides a good balance between ink flow and resolution.
Here’s a comparison of different screen types:
Frames are equally important. Aluminum frames are lightweight and durable, making them a popular choice. Wooden frames are more affordable but can warp over time, affecting print quality. Whichever you choose, ensure the frame keeps the screen taut for consistent results.
Callout: A loose screen can lead to blurred or uneven prints. Always check the tension before starting your project.
By selecting the right screen and frame, you’ll set yourself up for success. Whether you’re creating intricate designs or bold, simple patterns, these tools ensure your prints come out looking sharp and professional.
Tips for Achieving Professional Results
Preparing the Surface for Optimal Adhesion
Getting the surface ready is the first step to achieving a flawless print. A clean, smooth surface ensures the ink adheres properly and lasts longer. Start by cleaning the sheet metal to remove grease, dirt, or oils. Use a degreaser or solvent that meets industry standards. For stubborn residues, try an alkaline cleaner. Once cleaned, inspect the surface for scratches or imperfections. Sanding or polishing can help smooth out any rough spots.
Research shows that surface treatments like sulfuric acid or UV laser modification can improve adhesion by altering the metal’s texture and chemical properties. While these methods may sound advanced, they’re worth considering for projects requiring extra durability.
Tip: Always wear gloves when handling cleaned metal to avoid transferring oils from your hands.
Avoiding Common Mistakes
Even experienced printers can make mistakes, but knowing what to watch for can save you time and frustration. Here are some common errors and how to avoid them:
Taking the time to proof your design and set up your equipment correctly can prevent these issues.
Callout: A small mistake in alignment or resolution can ruin an entire batch of prints. Always double-check your setup!
Maintaining Your Tools and Screens
Proper maintenance of your tools and screens is essential for consistent results. Clean your screens thoroughly after each use to prevent ink buildup. Use a degreaser to remove any residue, then dry the screens completely before storing them. Protective sleeves can keep dust away, while storing screens in a cool, dry place prevents warping.
For equipment like squeegees and presses, regular cleaning and lubrication are key. Retension screens periodically to maintain the right tension, as loose screens can lead to uneven prints. Don’t forget to clean air filters and knives in your curing equipment to ensure smooth operation.
Pro Tip: A well-maintained workspace not only extends the life of your tools but also improves the overall printmaking process.
By following these tips, you’ll set yourself up for success. Whether you’re a beginner or a seasoned pro, attention to detail and proper care can make all the difference in your final results.
Troubleshooting Common Issues
Fixing Ink Adhesion Problems
Ink adhesion issues can be frustrating, but they’re often easy to fix once you know what’s causing them. The most common culprit? Contaminants on the metal surface. Dust, oils, or grease act as barriers, preventing the ink from sticking properly. Always clean the surface thoroughly before printing. Use a degreaser or solvent to remove any residue.
Another factor is the ink itself. Not all inks work well with every type of metal. Some are specially formulated for specific substrates, like stainless steel or aluminum. If the ink isn’t adhering, check if it’s compatible with your material.
Pre-treatment is also key. Increasing the surface energy of the metal helps the ink bond better. Techniques like sanding, applying a primer, or using UV laser modification can make a big difference. Customized testing with different inks and pre-treatments is a smart way to find the best combination for your project.
Tip: If you’re using UV-curable inks, make sure the curing process is done correctly. Improper curing can weaken adhesion.
Resolving Screen Alignment Errors
Misaligned prints can ruin your design, but you can avoid this with a few simple steps. Start by double-checking the alignment of your screen before applying ink. Use registration marks to ensure everything lines up perfectly.
If you’re working on a multi-color design, alignment becomes even more critical. Each layer of color needs to match up exactly. Take your time to adjust the screen and test print on scrap material before starting the final project.
Callout: A small misalignment can throw off the entire design. Always test before committing to the full print!
Addressing Uneven or Blurred Prints
Uneven or blurry prints often happen when the screen tension is off or the ink isn’t applied evenly. To fix this, check the tension of your screen. A loose screen can cause the ink to spread unevenly, leading to smudges or blurred edges.
Regular proof checks are essential. Print a sample and compare it to your original design. This helps you catch issues like uneven ink application or misaligned text early. Also, monitor the color density and stability throughout the process to maintain consistency.
Pro Tip: Keep your equipment in top condition. Clean your screens and squeegees after every use to prevent buildup that can affect print quality.
By addressing these common issues, you’ll ensure your silkscreen printing projects look sharp and professional every time.
Benefits and Applications of Sheet Metal Silkscreen Printing
Durability and Longevity of Designs
Silkscreen printing on sheet metal creates designs that last. The ink bonds tightly to the metal surface, making it resistant to wear and tear. Whether your project faces harsh weather, heavy handling, or exposure to chemicals, the printed designs stay intact. This durability makes silkscreen printing perfect for outdoor signs, industrial labels, and even decorative art pieces.
You can also enhance the longevity of your designs with protective coatings. Adding a layer of clear lacquer or epoxy shields the ink from scratches and fading. This extra step ensures your project looks great for years, even in challenging environments.
Tip: For outdoor projects, always use UV-resistant inks to prevent fading from sunlight.
Versatility for Industrial and Artistic Uses
Silkscreen printing isn’t just durable—it’s incredibly versatile. You can use it for industrial applications like printing labels on machinery or creating electronic components. It’s also a favorite for artistic projects, such as custom metal signs or intricate decorative panels.
Here’s a closer look at how silkscreen printing adapts to different industries and uses:
This flexibility comes from the ability to customize ink formulations and modify surfaces. Whether you’re creating bold, simple designs or intricate patterns, silkscreen printing delivers consistent results.
Callout: Silkscreen printing’s adaptability makes it a go-to choice for both creative and technical projects.
Cost-Effectiveness for Large-Scale Projects
If you’re working on a big project, silkscreen printing is a budget-friendly option. Once you set up the screen, you can produce multiple prints quickly and efficiently. The equipment and materials are relatively inexpensive, making it ideal for large-scale production.
For example, if you’re printing hundreds of metal panels for a factory or creating a batch of custom signs, silkscreen printing saves time and money. The process ensures every print looks sharp and professional, no matter how many you produce.
Pro Tip: Reuse screens for similar designs to cut costs even further.
Silkscreen printing on sheet metal combines durability, versatility, and cost-effectiveness. Whether you’re tackling industrial tasks or artistic projects, this technique offers a reliable and efficient solution.
Silkscreen printing on sheet metal is a fantastic way to create durable, high-quality designs. Whether you're working on a small art project or a large industrial task, this method delivers precision and professional results. By following the steps outlined in this guide and using the right tools, you can bring your ideas to life with ease.
Tip: Don’t rush the process. Careful preparation and attention to detail make all the difference!
From vibrant colors to long-lasting finishes, this technique offers endless possibilities for customization. Ready to get started? Your next masterpiece is just a screen away!
FAQ
What types of designs work best for silkscreen printing on sheet metal?
Bold and simple designs work best. Intricate patterns can also look great if you use a fine mesh screen. Avoid overly detailed elements that might blur during printing.
Tip: Test your design on scrap material first to see how it translates onto metal.
Can I reuse screens for multiple projects?
Yes, you can reuse screens, but only if the designs are similar. Clean the screen thoroughly after each use to remove ink residue. For new designs, you’ll need to create a fresh stencil.
Note: Proper cleaning extends the life of your screens and ensures sharp prints.
How do I choose the right ink for my project?
Pick ink based on your project’s needs. UV-curable inks dry fast and resist fading, while metallic inks add a shiny finish. Always check compatibility with your metal type.
Is silkscreen printing on sheet metal beginner-friendly?
Absolutely! With the right tools and preparation, beginners can achieve great results. Start with simple designs and practice on scrap metal to build confidence.
Pro Tip: Watch tutorials or take a workshop to learn the basics before diving into a big project.
How do I fix mistakes during printing?
If the ink hasn’t dried, wipe it off with a solvent and try again. For dried ink, sand the area lightly and reapply the design. Always inspect your work before curing to catch errors early.
Callout: Prevention is key! Double-check alignment and ink consistency before printing.